The Art of Wire and Resin Flowers
- By Stéphane
- •
- 17 Mar, 2019
- •
What are these beautiful flowers?

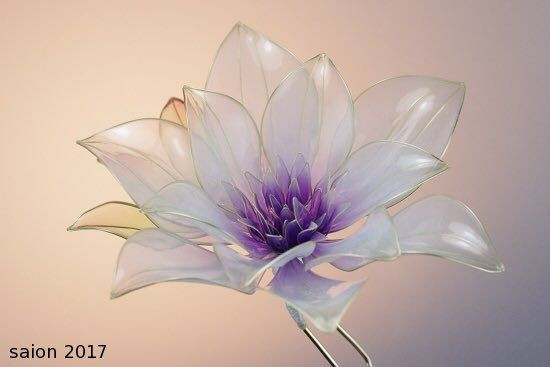
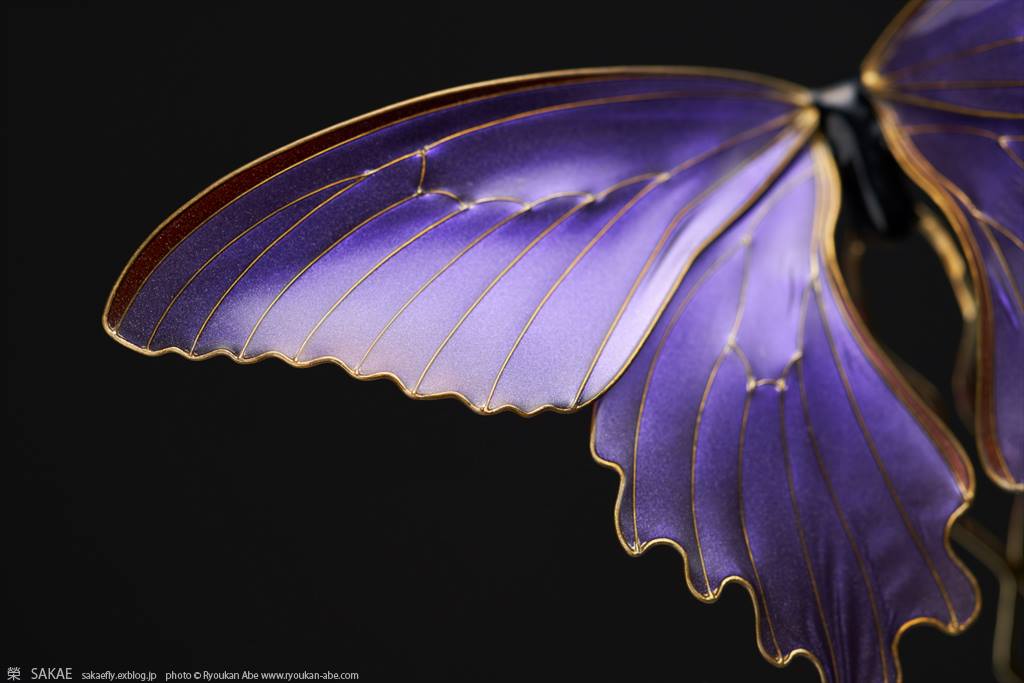
I was hanging out on Pinterest the other day when my attention got caught up by some exquisite glittering and crystalline flowers. Looking further I came across many other realizations such as butterflies , fairies, jewelry and many more.
Curious as I am, I decided to dig in further and see how these were made, and I quickly discovered that the process was pretty simple.
Here is what I found.
Curious as I am, I decided to dig in further and see how these were made, and I quickly discovered that the process was pretty simple.
Here is what I found.

The art of dip flowers
The technique used is derived from the craft technique for dip flowers, which consists in taking real flowers and dipping them in some kind of resin to petrify them.
But in our specific case, instead of sacrificing some real flowers for the craft, people use some standard craft wire to give shape to their realization and which they dip in resin as you would do with a bubble blower. Then yo ujust have to wait for it to dry, add some paint if you wish, and you have it.
As for the resin, there exists a wide variety of brands (Dip Fantasy Film, Q-dip, Vitriarte, Vitriflor, Glass Flower, Vitral...), but people also have success, as you will see below, using more readily available products such as nail polish or wood glue.
This technique was trending in the 70s and got somehow forgotten up until recently.
Galleries and tutorials
First, here are places where you can see the beautiful realizations of Saion and Karae (I put them here because I find these realizations beautiful and inspiring, nothing else :) ):
And now on to some tutorials.
First are examples of using nail polish (first inJapanese and second in English):
The main point there is to take care when applying the polish, first at it requires some practice to get the film, and secondly as you have to properly distribute the lacquer over the surface if you want it to look homogeneous (but you can also change the balance to get some transparency ;)). And take care to avoid bubbles...
Here is another basic example using wood glue (the naoil polish is only for getting some colors, but you could as well use some paint):
This third tutorial (in Russian) shows the use of specific resin (Vitral here) which allow easily getting transparency and colors:
And the next tutorial (in Russian again) is more advanced as in addition to the techniques we have seen before it also involves some soldering, but the result is gorgeous therefore worth trying:
And now another example showing some variations on the technique above (using a brush if you don't have an airbrush) as well as added droplets and using crystal:
Thank you, I hope you enjoyed this article :)


